How to install a suspended ceiling
Six steps from setting out the level to laying the tiles, the tool list, eight layouts and quantities per m². The method is the same for Nova and Fortis.
Six steps
- Step 01
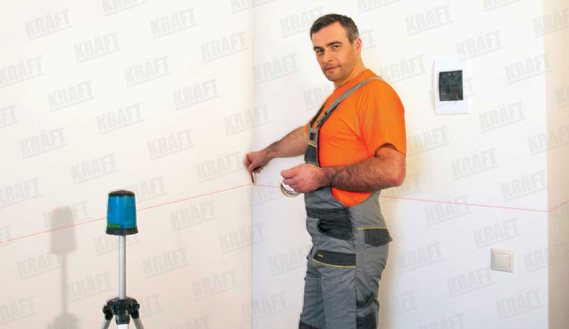
Set out the ceiling level
Find the level round the perimeter with a laser or water level and snap a line on every wall. The minimum drop from the structural slab is 120 mm — allow more if recessed fittings or services are going in.
- Step 02
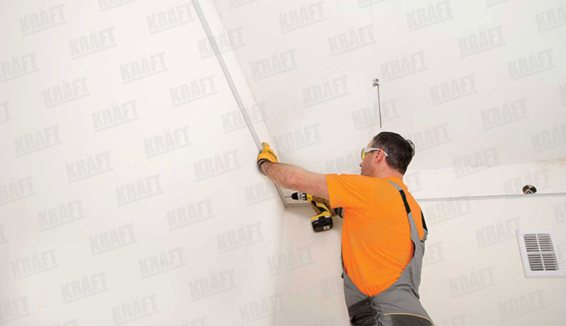
Fix the wall angle
Fix the L or W angle to the snapped line at no more than 500 mm centres. Square-edge tiles take the L angle; tegular tiles take the W angle.
- Step 03
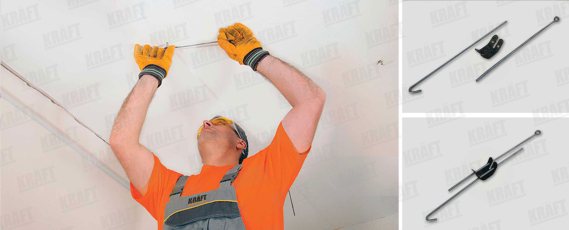
Put in the hangers
Mark the main runner lines at 1200 mm centres. The first hanger goes no more than 600 mm from the wall, the rest at 1200 mm along the runner. Anchor into the slab, then hook wire, spring clip and eye wire.
- Step 04
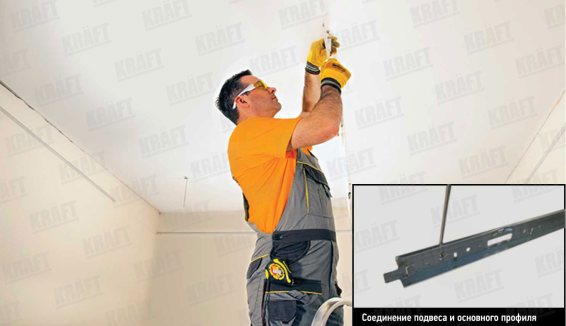
Hang the main runners
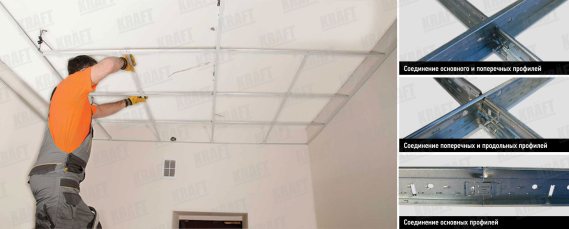
Drop the 3600 mm runners into the hangers with their ends resting on the wall angle. Clip them end to end in a straight line. Adjust the springs until the whole plane is level.
- Step 05
Clip in the cross tees
Push the 1200 mm cross tees into the slots in the runners until the lock clicks. Add the 600 mm tees if your layout calls for them. Check the diagonals on a few openings.
- Step 06
Lay the tiles and fittings
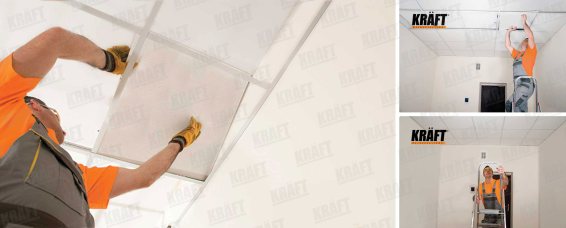
Tilt each tile through the opening and lower it onto the profile flanges. Anything over 250 g needs its own hangers back to the slab; KRAFT LED fittings do not.
Tools you will need
- laser or water level
- tape measure and chalk line
- hammer drill with a bit for the anchors
- cordless screwdriver
- tin snips
- mitre box or square for cutting profile
- knife for trimming tiles
- stepladder or a tower
- gloves and safety glasses

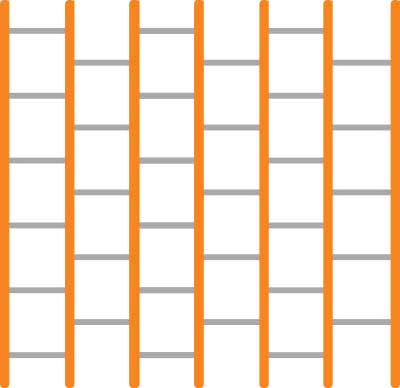
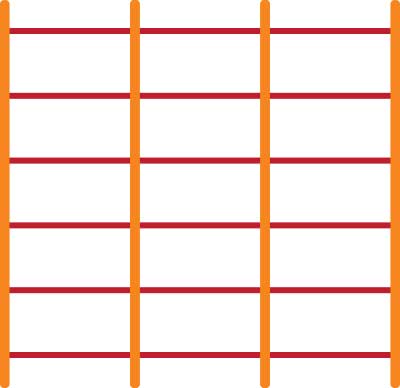
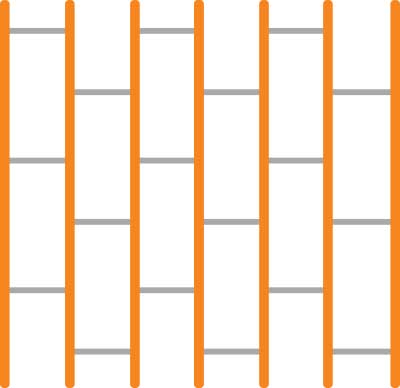
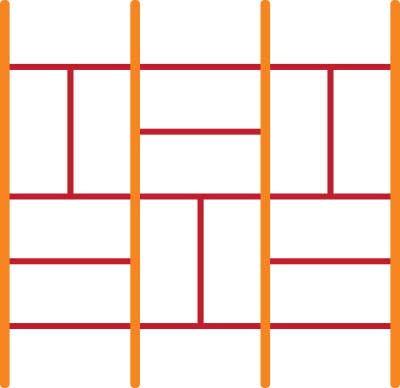
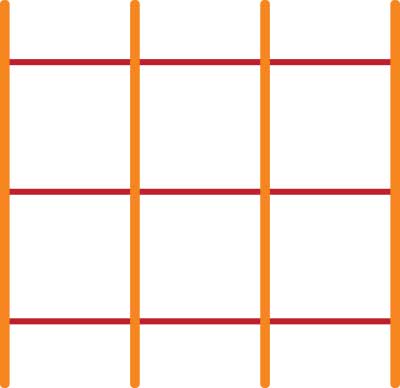
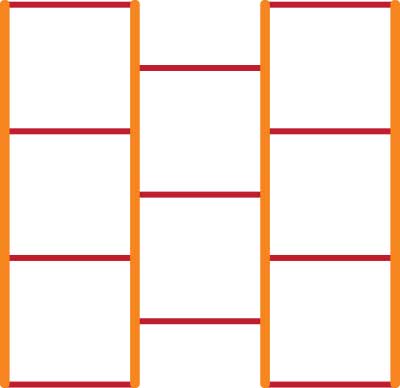
Eight installation layouts
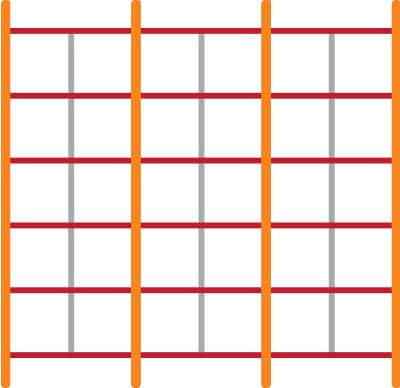
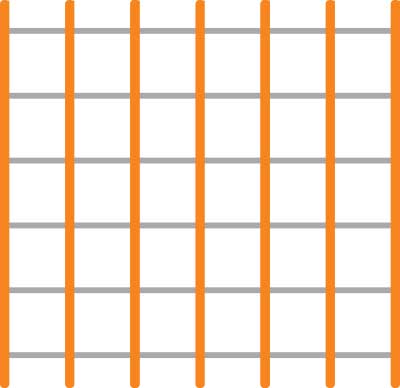
The layout follows from the tile size and the load you need to carry. Smaller openings or heavier loads mean a denser grid and more hangers.
Material quantities per m²
How many of each component go into one square metre, layout by layout. Treat these as a guide — a real take-off also allows for perimeter cutting and 5–7 % waste.
| Layout | Main 3600 | Cross tee 1200 | Cross tee 600 | Hangers | Tiles |
|---|---|---|---|---|---|
| Layout 1 · 600×600 | 0,232 | 1,40 | 1,40 | 0,70 | 2,78 |
| Scheme 2 · 600×600 reinforced | 0,464 | — | 2,80 | 1,40 | 2,78 |
| Layout 3 · 600×600 with extra hangers | 0,464 | — | 2,80 | 1,40 | 2,78 |
| Layout 4 · 600×1200 · standard | 0,232 | 1,40 | — | 0,70 | 1,39 |
| Scheme 5 · 600×1200 reinforced | 0,464 | — | 1,40 | 1,40 | 1,39 |
| Scheme 6 · 600×1200 staggered | 0,232 | 0,70 | — | 0,70 | 1,39 |
| Layout 7 · 1200×1200 | 0,232 | 0,70 | — | 0,70 | 0,69 |
| Scheme 8 · 1200×1200 staggered | 0,232 | 0,70 | — | 0,70 | 0,69 |
Wall angle is counted separately, off the room perimeter, allowing for joints in the 3000 mm lengths.
Installation on video
The whole job, from setting out to the last tile.
Documents to download
- KRAFT T‑bar ceiling installation guideLayouts 1–8 with material quantities
- Declarations of performance NR.02/2025/KRAFT and NR.03/2025/KRAFTNR.02/2025 · Fortis NR.03/2025 · Nova PL
Need a document that isn't listed? Mention it in your request.
Installation FAQ
The minimum drop from the structural slab is 120 mm — the depth of the grid plus room to adjust the hangers. If fittings, ductwork or cable trays are going in the void, take the deepest of those as your figure.
Main runners at 1200 mm centres. Hangers at 1200 mm along the runner, with the first no more than 600 mm from the wall. Layouts with extra hangers tighten that up — see the quantities table.
On the common 600×600 mm layout — 0.70 hangers per square metre. Hangers run along the main runner at 1200 mm centres, with the first no more than 600 mm from the wall. Layouts with extra hangers use more: all eight are set out in the quantities table on this page.
The hanger anchors into the slab and holds the runner through its hole, so it does not depend on the lock design. Building the ceiling itself from different makers' profiles will not work, though — each has its own lock geometry. If you are only replacing hangers in an existing ceiling, check they suit the height of your runner.
On the common 600×600 mm layout: 0.232 main runners of 3600 mm, 1.40 cross tees of 1200 mm, 1.40 cross tees of 600 mm, 0.70 hangers and 2.78 tiles per square metre. All eight layouts are in the table on this page.
Anything over 250 g hangs on its own wires back to the slab — one to four of them, depending on size and weight. KRAFT LED fittings sit on the grid itself and need none.
KRAFT locks come apart without damage, so you can strip part or all of the grid and put it back — for access to the services, a change of layout, or a move.
Cut the profiles with tin snips and the tiles with a knife against a straight edge. The cut edge sits on the wall angle, so it never shows.
We will price the bill of materials for your project
Send us the floor area and the type of space — we will pick the profile, the layout and work out the full take-off.